

Email Folders
Creating a Folder
- Go to Emails and click the New Folder button next to the New Email button.
- Enter a folder name (up to 60 characters).
- Optionally choose a color to make the folder easy to identify at a glance.
- Optionally assign the folder to a team to restrict who can see it (see Team Folders below).
- Click Create.
You can also create folders from inside an existing folder to create nested folders.
Nested Folders
Email folders can be nested as deep as you need, so you can build a hierarchy that fits your organization. For example:- Kids Ministry
- Weekly Updates
- Events
- Student Ministry
- Weekly Updates
Navigating Folders
Click on any folder in the emails table to open it. A breadcrumb trail will appear at the top showing your current location in the folder hierarchy. Click any breadcrumb to jump back to that level.Folders are hidden when searching emails. Your search will look across all emails regardless of folder.
Moving Emails to a Folder
- In the emails table, select one or more emails using the checkboxes.
- Click the Move button that appears in the action bar at the bottom of the screen.
- Browse or navigate through your folder tree and select a destination folder.
- Click Move to confirm.
Template Folders
Template folders work just like email folders, but are a flat list only.Template folders cannot be nested. If you need to organize templates further, use descriptive folder names to group related templates together.
Creating a Template Folder
- Go to Emails > Templates and click the New Folder button.
- Enter a folder name (up to 60 characters).
- Optionally choose a color.
- Click Create.
Moving Templates to a Folder
- In the templates table, select one or more templates using the checkboxes.
- Click the Move button that appears in the action bar at the bottom of the screen.
- Select a destination folder.
- Click Move to confirm.
Folder Colors
Each folder (email or template) can have a color to help you visually distinguish between different types of content. There are 10 colors to choose from: red, orange, yellow, green, teal, blue, purple, pink, gray, and black. You can set a color when creating a folder or change it later by clicking the folder name at the top of the page when viewing a folder.Team Folders
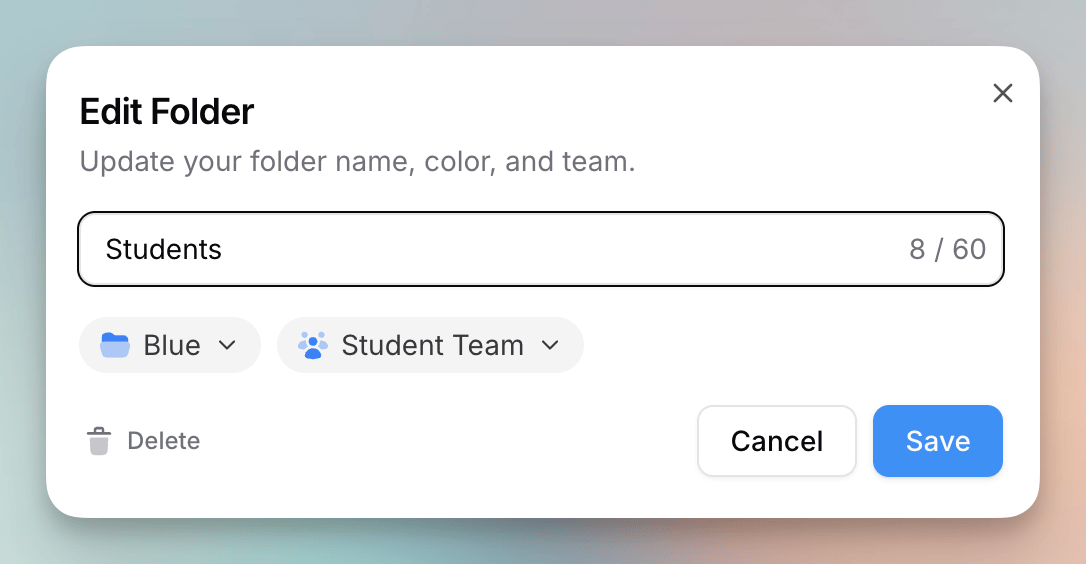 You can restrict access to a top-level email folder by assigning it to a team. When a folder has a team assigned, only organization owners and members of that team can see emails inside it.
- Only top-level folders can be assigned to a team. Subfolders automatically inherit the permissions of their parent folder.
- Folders without a team assignment remain visible to everyone with email access.
- You can see which folders are assigned to a team from the Access tab on the team’s detail page in Settings.
Organizing by Campus or Ministry
Many organizations want to group email folders by campus or ministry area, sometimes with separate teams for each group (e.g. Kids vs. Students). There are two approaches that work well with how folder permissions are set up today.Nested folders (one team for the whole area)
Use nested folders when everyone on the same team should see everything in that area. Assign the team to the top-level folder. All subfolders inherit that team’s access. Example — one campus team manages all ministry emails:- Downtown Campus (assigned to Downtown Campus team)
- Kids
- Students
- Adults
Flat folders with naming (different teams per branch)
Use separate top-level folders when different teams need access to different parts of the same campus or ministry area. Only top-level folders can be assigned to a team, so each team needs its own root folder. Use a consistent naming prefix so related folders stay grouped in the list. Shared colors can also help visually tie folders together. Example — separate teams for Kids and Students at the same campus:- Downtown — Kids (assigned to Kids team)
- Downtown — Students (assigned to Students team)
Editing a Folder
Right-click on any folder in the emails table to open a context menu with edit options. From here you can:- Rename the folder
- Change the color
- Assign or change the team (top-level folders only)
- Delete the folder
Deleting a Folder
When you delete a folder:- All emails or templates inside the folder are moved to the parent folder (or back to the root if it’s a top-level folder).
- For email folders, all subfolders are also moved to the parent folder.
- No emails or templates are deleted, only the folder itself is removed.
Folders are a simple way to keep your emails and templates organized as your team sends more content. Need help? Contact support@flowforth.co.