

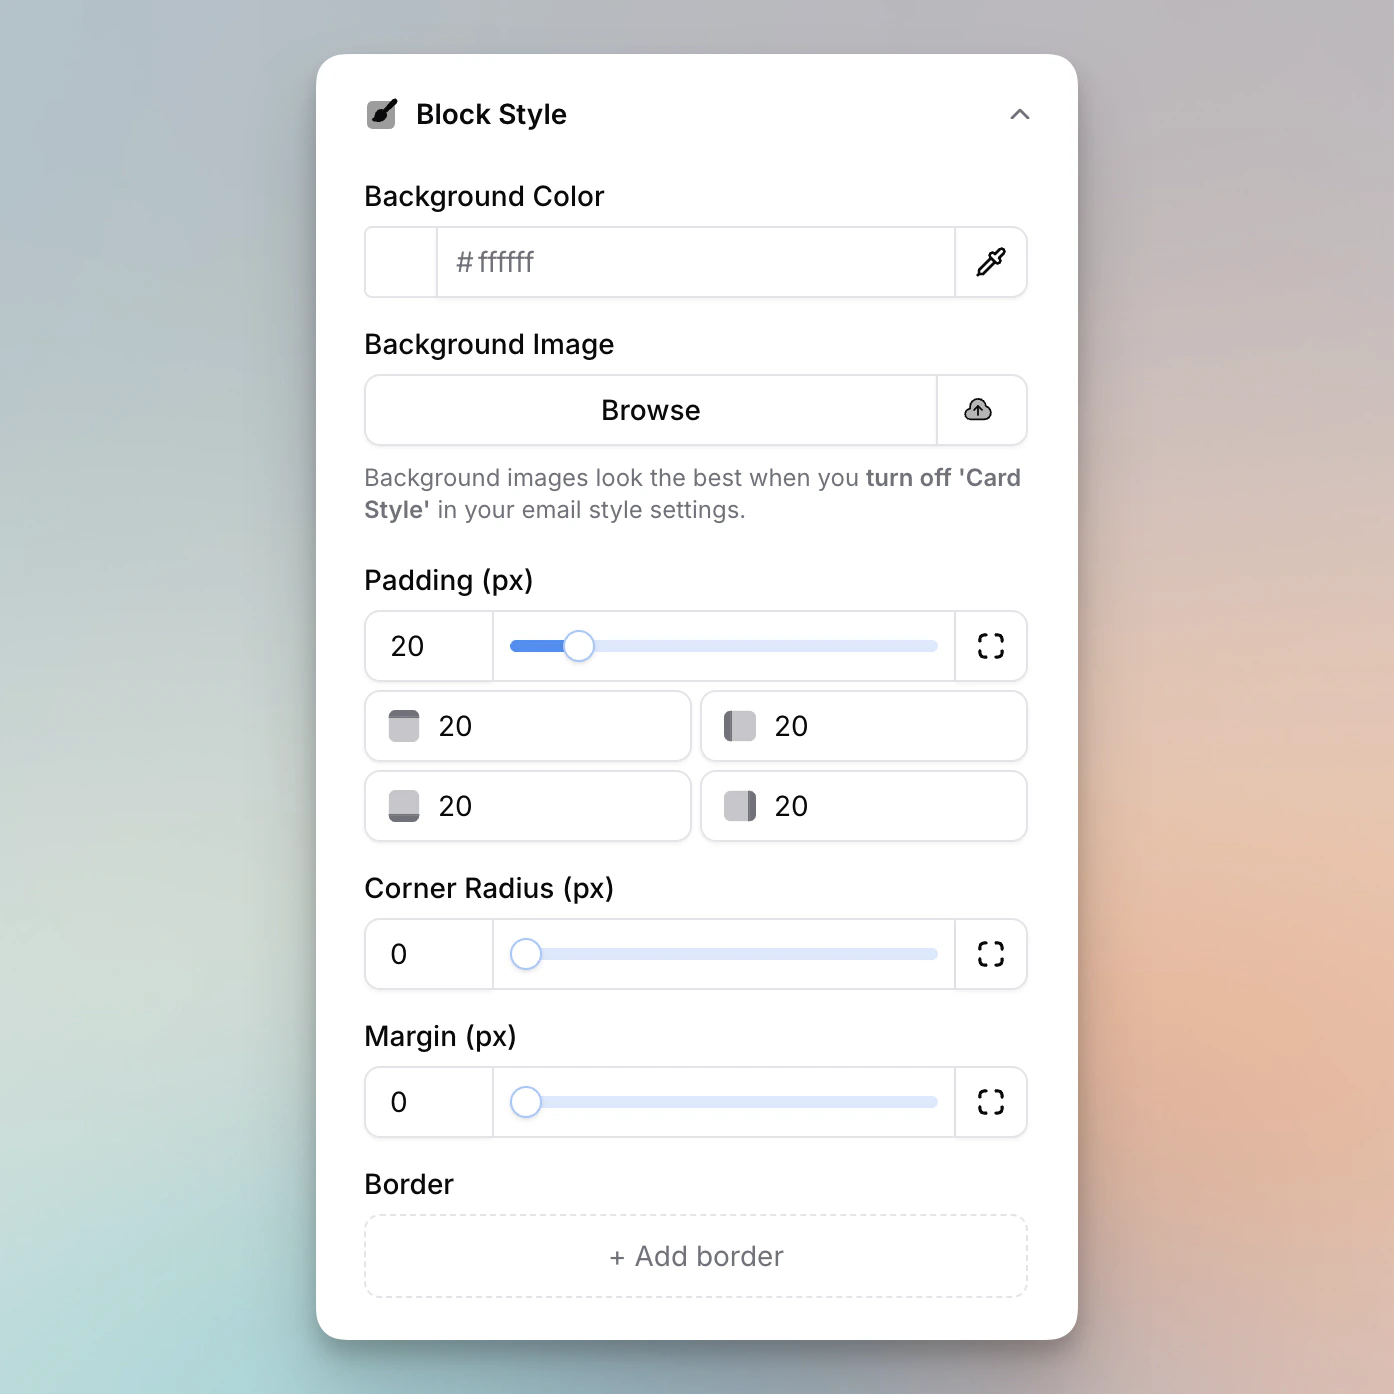
Background Color
Set a custom background color for the block. This color appears behind the block’s content and is independent of the email’s overall background color.Background Image
Add a background image behind the block’s content.- Choose an image from your asset library.
- Set the image position: top, center, or bottom alignment.
Background images work best with the Seamless layout in Email Styles. For a background image that spans multiple blocks, use a 1-column layout and apply the background to the column.
Padding
Control the space inside the block, between the block’s edge and its content. Use the slider to set a uniform value on all sides. Click the expand icon to the right of the slider to set each side individually (top, right, bottom, left).Corner Radius
Round the corners of a block. Use the slider to set a uniform radius for all four corners. Click the expand icon to configure each corner independently (top-left, top-right, bottom-right, bottom-left).Margin
Control the space outside the block. Use the slider to set a uniform value, or click the expand icon to set each side individually.Desktop and Mobile Spacing
Padding and margin have two tabs — Desktop and Mobile — so a block can breathe differently on phones than it does on larger screens.- The Desktop tab is the block’s base spacing, applied everywhere unless a mobile override says otherwise.
- The Mobile tab starts pre-filled with the desktop values, so nothing changes until you actually edit something. Your first edit creates the mobile override; every side you leave untouched keeps inheriting its desktop value.
- A small dot on the Mobile tab marks blocks that have a mobile override, so you can spot them at a glance.
- Click Clear mobile spacing to remove the overrides and go back to inheriting desktop values on every side.
Mobile spacing overrides apply in the sent email on small screens. They’re a preview in the editor and never change how the email looks on desktop.
Borders
Add borders to any block. Choose a border color and set the width using the slider. Click the expand icon to set a different width for each side (top, right, bottom, left), which is useful for effects like a thick bottom border or an accent line on one edge.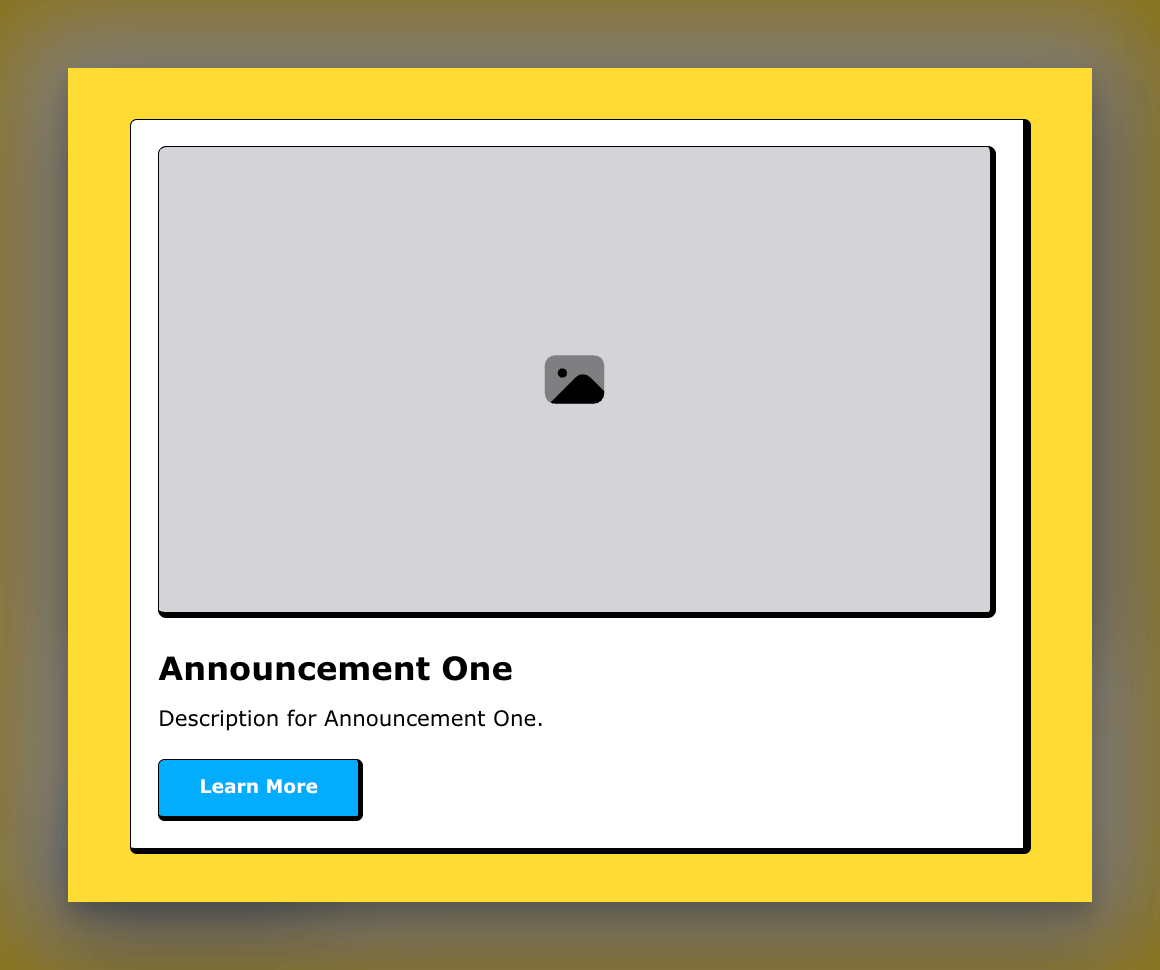
A neo-brutalism style using a thicker bottom and right border on the block.
Visibility
Limit a block to people on — or not on — a specific Planning Center list. The visibility row sits directly under the Block Style card and reads Visible to everyone until you set a condition. Click the row to expand it, choose whether recipients must be on the list or not on the list, and pick a Planning Center list. Once a condition is set, the row shows an orange filter badge and reads Only people on the list you picked. When the email is sent, only recipients who match the condition get the block; everyone else gets a version of the email without it. The content is removed from their email entirely — not hidden with CSS — so it never appears in their inbox or their view-in-browser page.- On the list sends the block only to people on the list — for example, an update just for volunteers.
- Not on the list sends the block only to people who aren’t on the list — for example, a sign-up pitch hidden from people who already signed up.
- Blocks with a visibility condition show a small filter badge on the canvas.
- Public page visibility controls whether the block appears on the category’s public page and in that category’s RSS feed. It appears once a condition is set, and only when the email’s category has a public page (or when the email doesn’t have a category yet). Automatic follows the recipient rule — a block limited to a list is hidden, a block hidden from a list is shown — while Always show and Always hide pin it either way. Recipients are never affected.
- To apply a condition to several blocks at once, select multiple blocks (shift-click or cmd/ctrl-click) and use Add Visibility Condition in the sidebar.
- Recipients are matched by their Planning Center person. Recipients imported from a CSV aren’t on any list, so blocks limited to a list are removed for them, and blocks hidden from a list are included. When you send a conditional-block email to a CSV audience, we’ll warn you about this on the send confirmation.
- Moving a block into a column layout removes its visibility condition (conditions only work on top-level blocks) — you’ll see a warning when this happens.
The editor preview and test sends always show the full email with every block included.
Tips
- Combine a background image with padding to create breathing room around your content.
- Use corner radius on image or card blocks to create a softer, rounded look.
- Margin is helpful for creating visual separation between blocks without adjusting the block gap in your column layout.