Creating an HTML Email
- Go to Emails and click New Email.
- In the new email popup, select HTML as the email type.
- Enter a subject and optionally choose a folder.
- Click Create and you’ll be taken to the HTML editor.
The HTML Editor
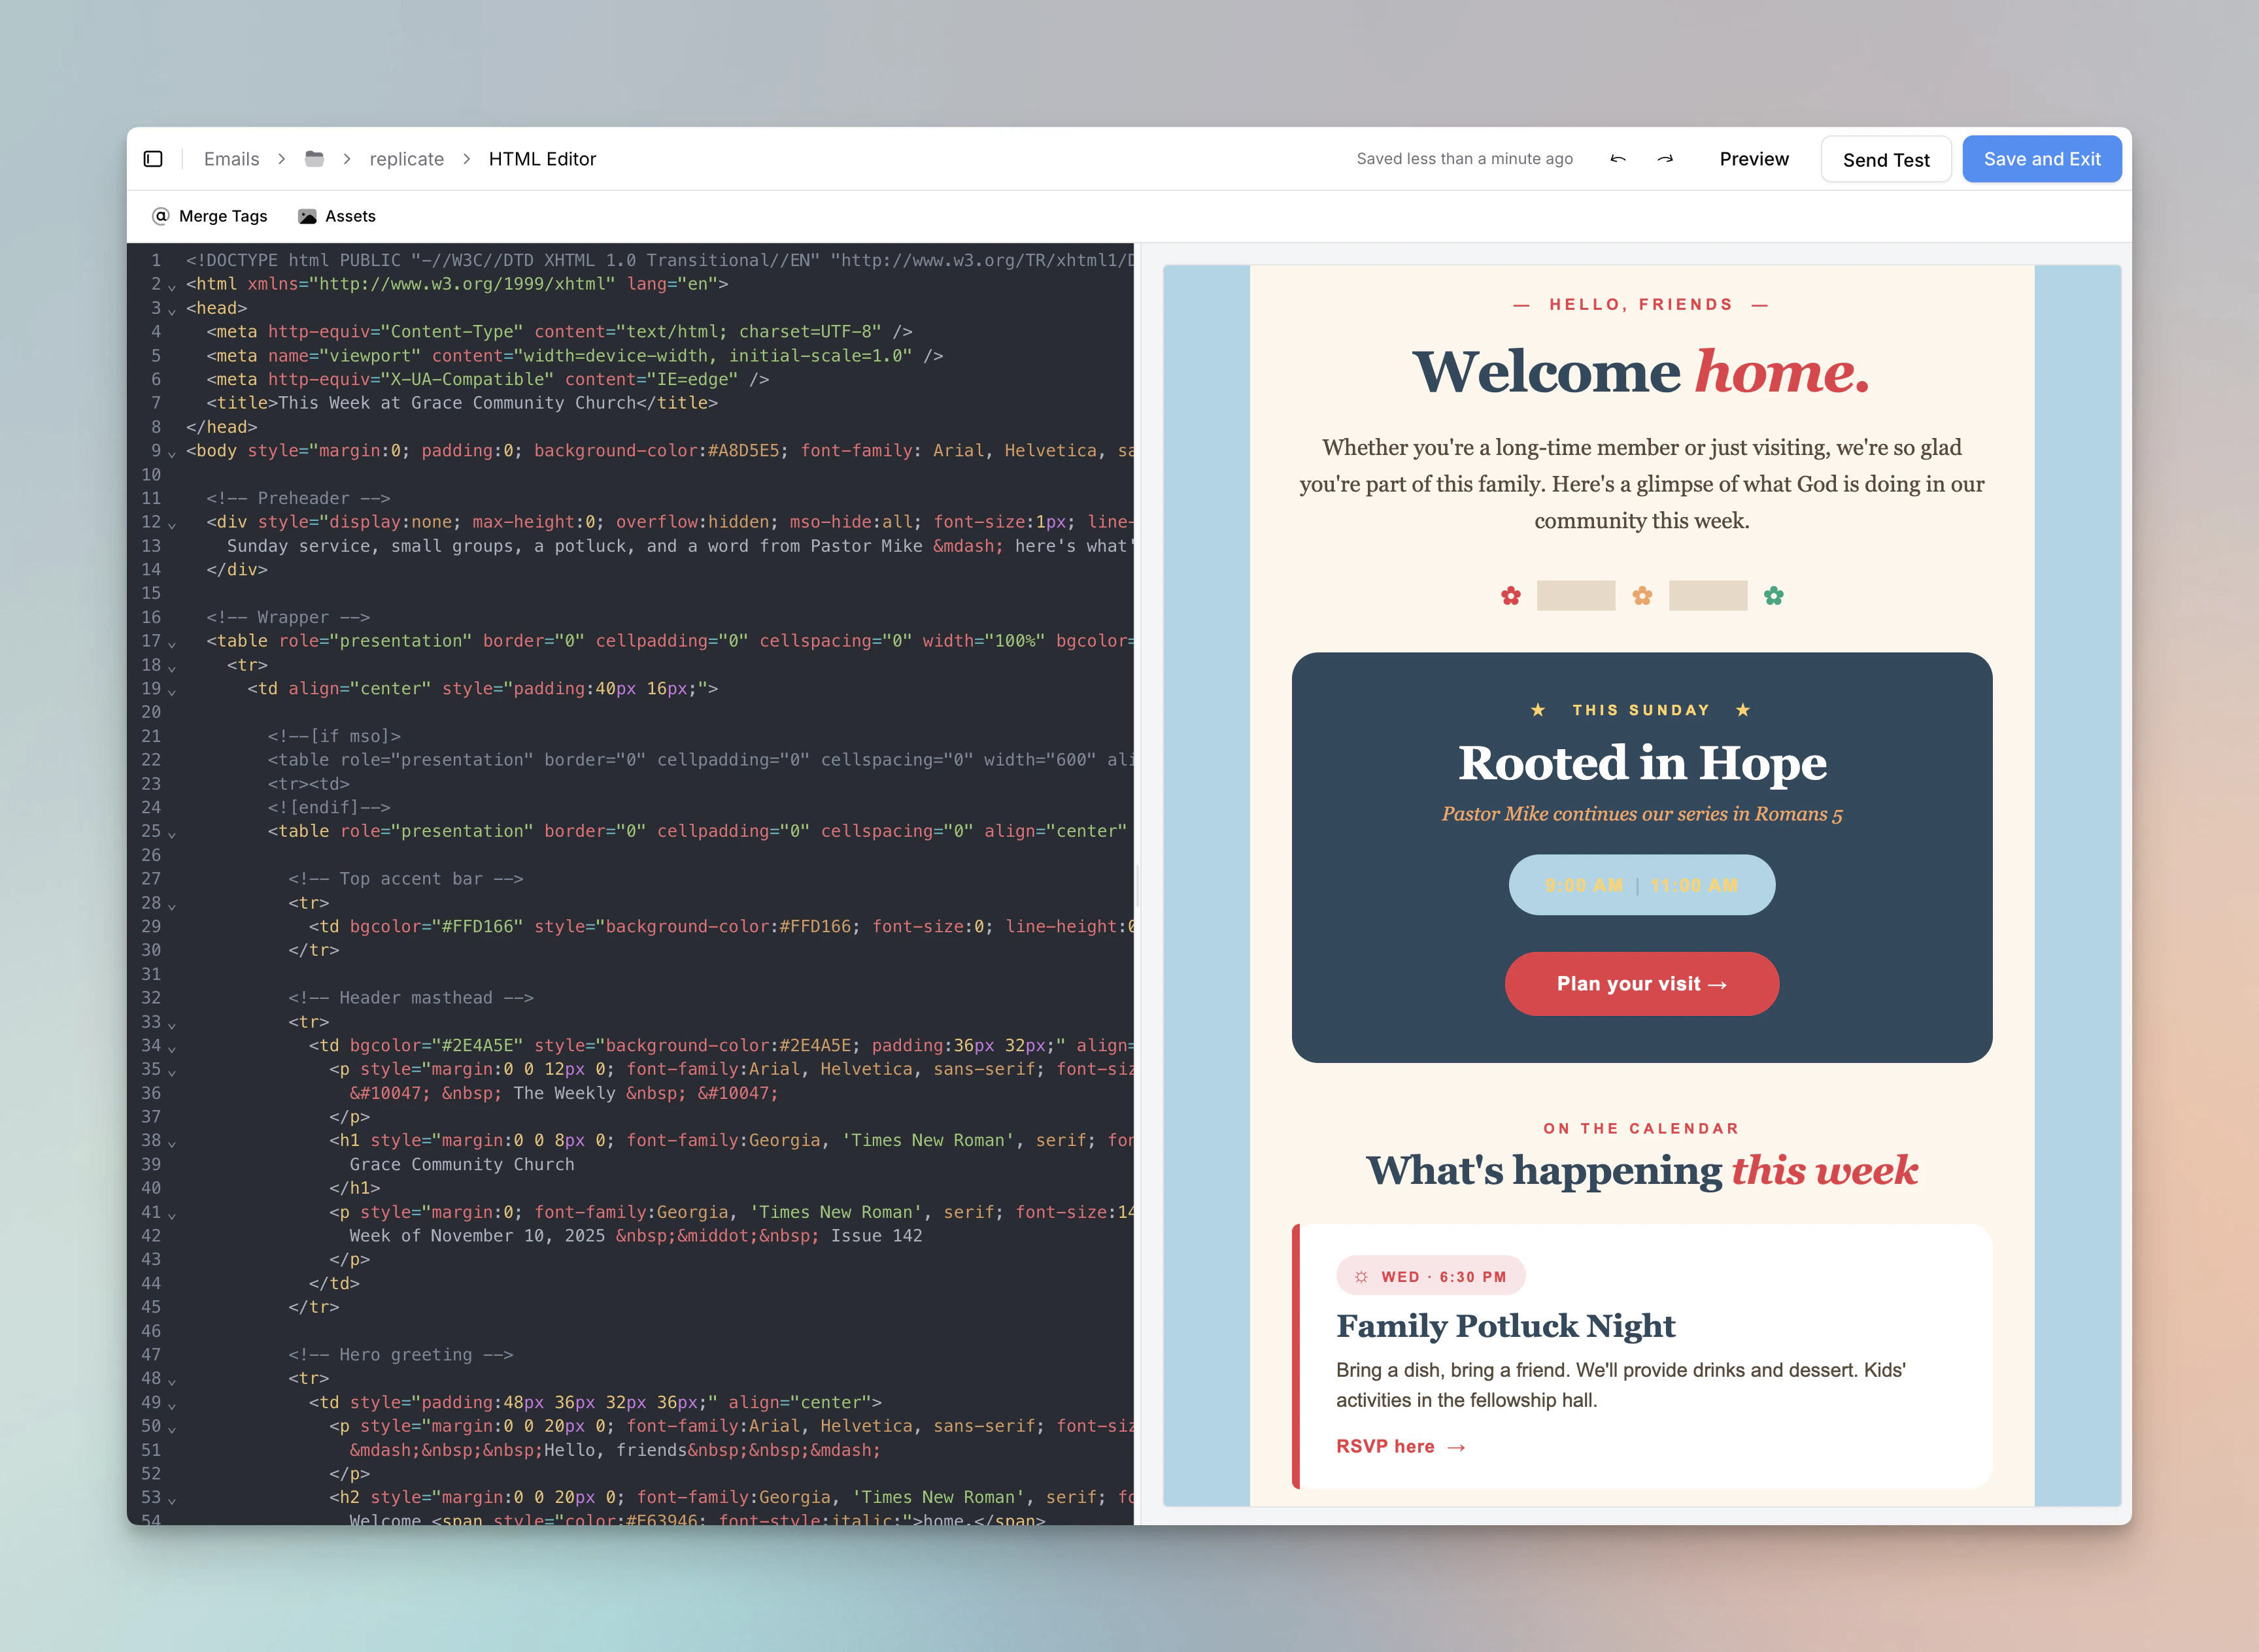
Code Editor
The code editor includes:- Syntax highlighting for HTML
- Undo/redo via the toolbar buttons or keyboard shortcuts
- Auto-save that saves your work automatically as you type
Live Preview
The preview pane shows how your email will look to recipients. You can switch between three views:- Web: Full-width preview
- Mobile: 380px responsive preview to check how your email looks on smaller screens
- Links: A list of all links found in your HTML
Merge Tags
You can insert merge tags into your HTML using the Insert Merge Tag button in the toolbar. Merge tags are placeholders that get replaced with real data when the email is sent. For example,@first_name will be replaced with each recipient’s first name.
For a full list of available merge tags, see Merge Tags.
Assets
Click the Assets button in the toolbar to open the asset browser and insert images into your HTML. When you select an asset, its URL will be copied so you can use it in an<img> tag or anywhere else in your HTML.
Unsubscribe Links
All emails sent through Flowforth must include an unsubscribe link. In HTML emails, use the@unsubscribe merge tag in a link’s href attribute:
@manage-preferences to link to a page where recipients can manage their email category preferences:
Validation Warnings
The editor will display warnings at the top if your HTML contains tags that are not well-supported across email clients:<script>tags<video>tags<svg>tags<iframe>tags<form>tags These tags will be stripped before sending to protect recipients and ensure consistent rendering.
<style> tags are preserved and supported by some email clients. They can be useful for responsive designs like media queries. However, some clients (notably older versions of Gmail) strip <style> tags entirely, so inline styles are recommended whenever possible for the most consistent results.
Saving and Auto-Save
Your HTML is saved automatically as you work. You’ll see a “Saved” indicator in the header showing when the last save occurred. Your work is also saved when you navigate away from the page or close the browser tab.Previewing and Sending
When you’re done editing, navigate to the pre-send page to configure your recipients, category, and schedule. The pre-send page shows a preview of your HTML email and checks that all required fields are complete before sending. For details on setting recipients, scheduling, and sending, see Creating and Sending Emails.Saving as a Template
You can save an HTML email as a reusable template from the pre-send page or from the emails table:- On the pre-send page, click the Save as Template button.
- Give your template a name and optionally choose a folder.
- Click Save.
Tips for HTML Emails
- Use inline styles instead of
<style>blocks. Many email clients strip<style>tags, so inline styles give you the most consistent results. - Use tables for layout. Flexbox and CSS Grid are not supported in most email clients.
- Test across clients. Use the test email feature to send previews to different email providers (Gmail, Outlook, Apple Mail) before sending to your full list.
- Keep it simple. Simpler HTML tends to render more consistently across the wide variety of email clients your recipients may use.
Need help with HTML emails? Contact support@flowforth.co.