

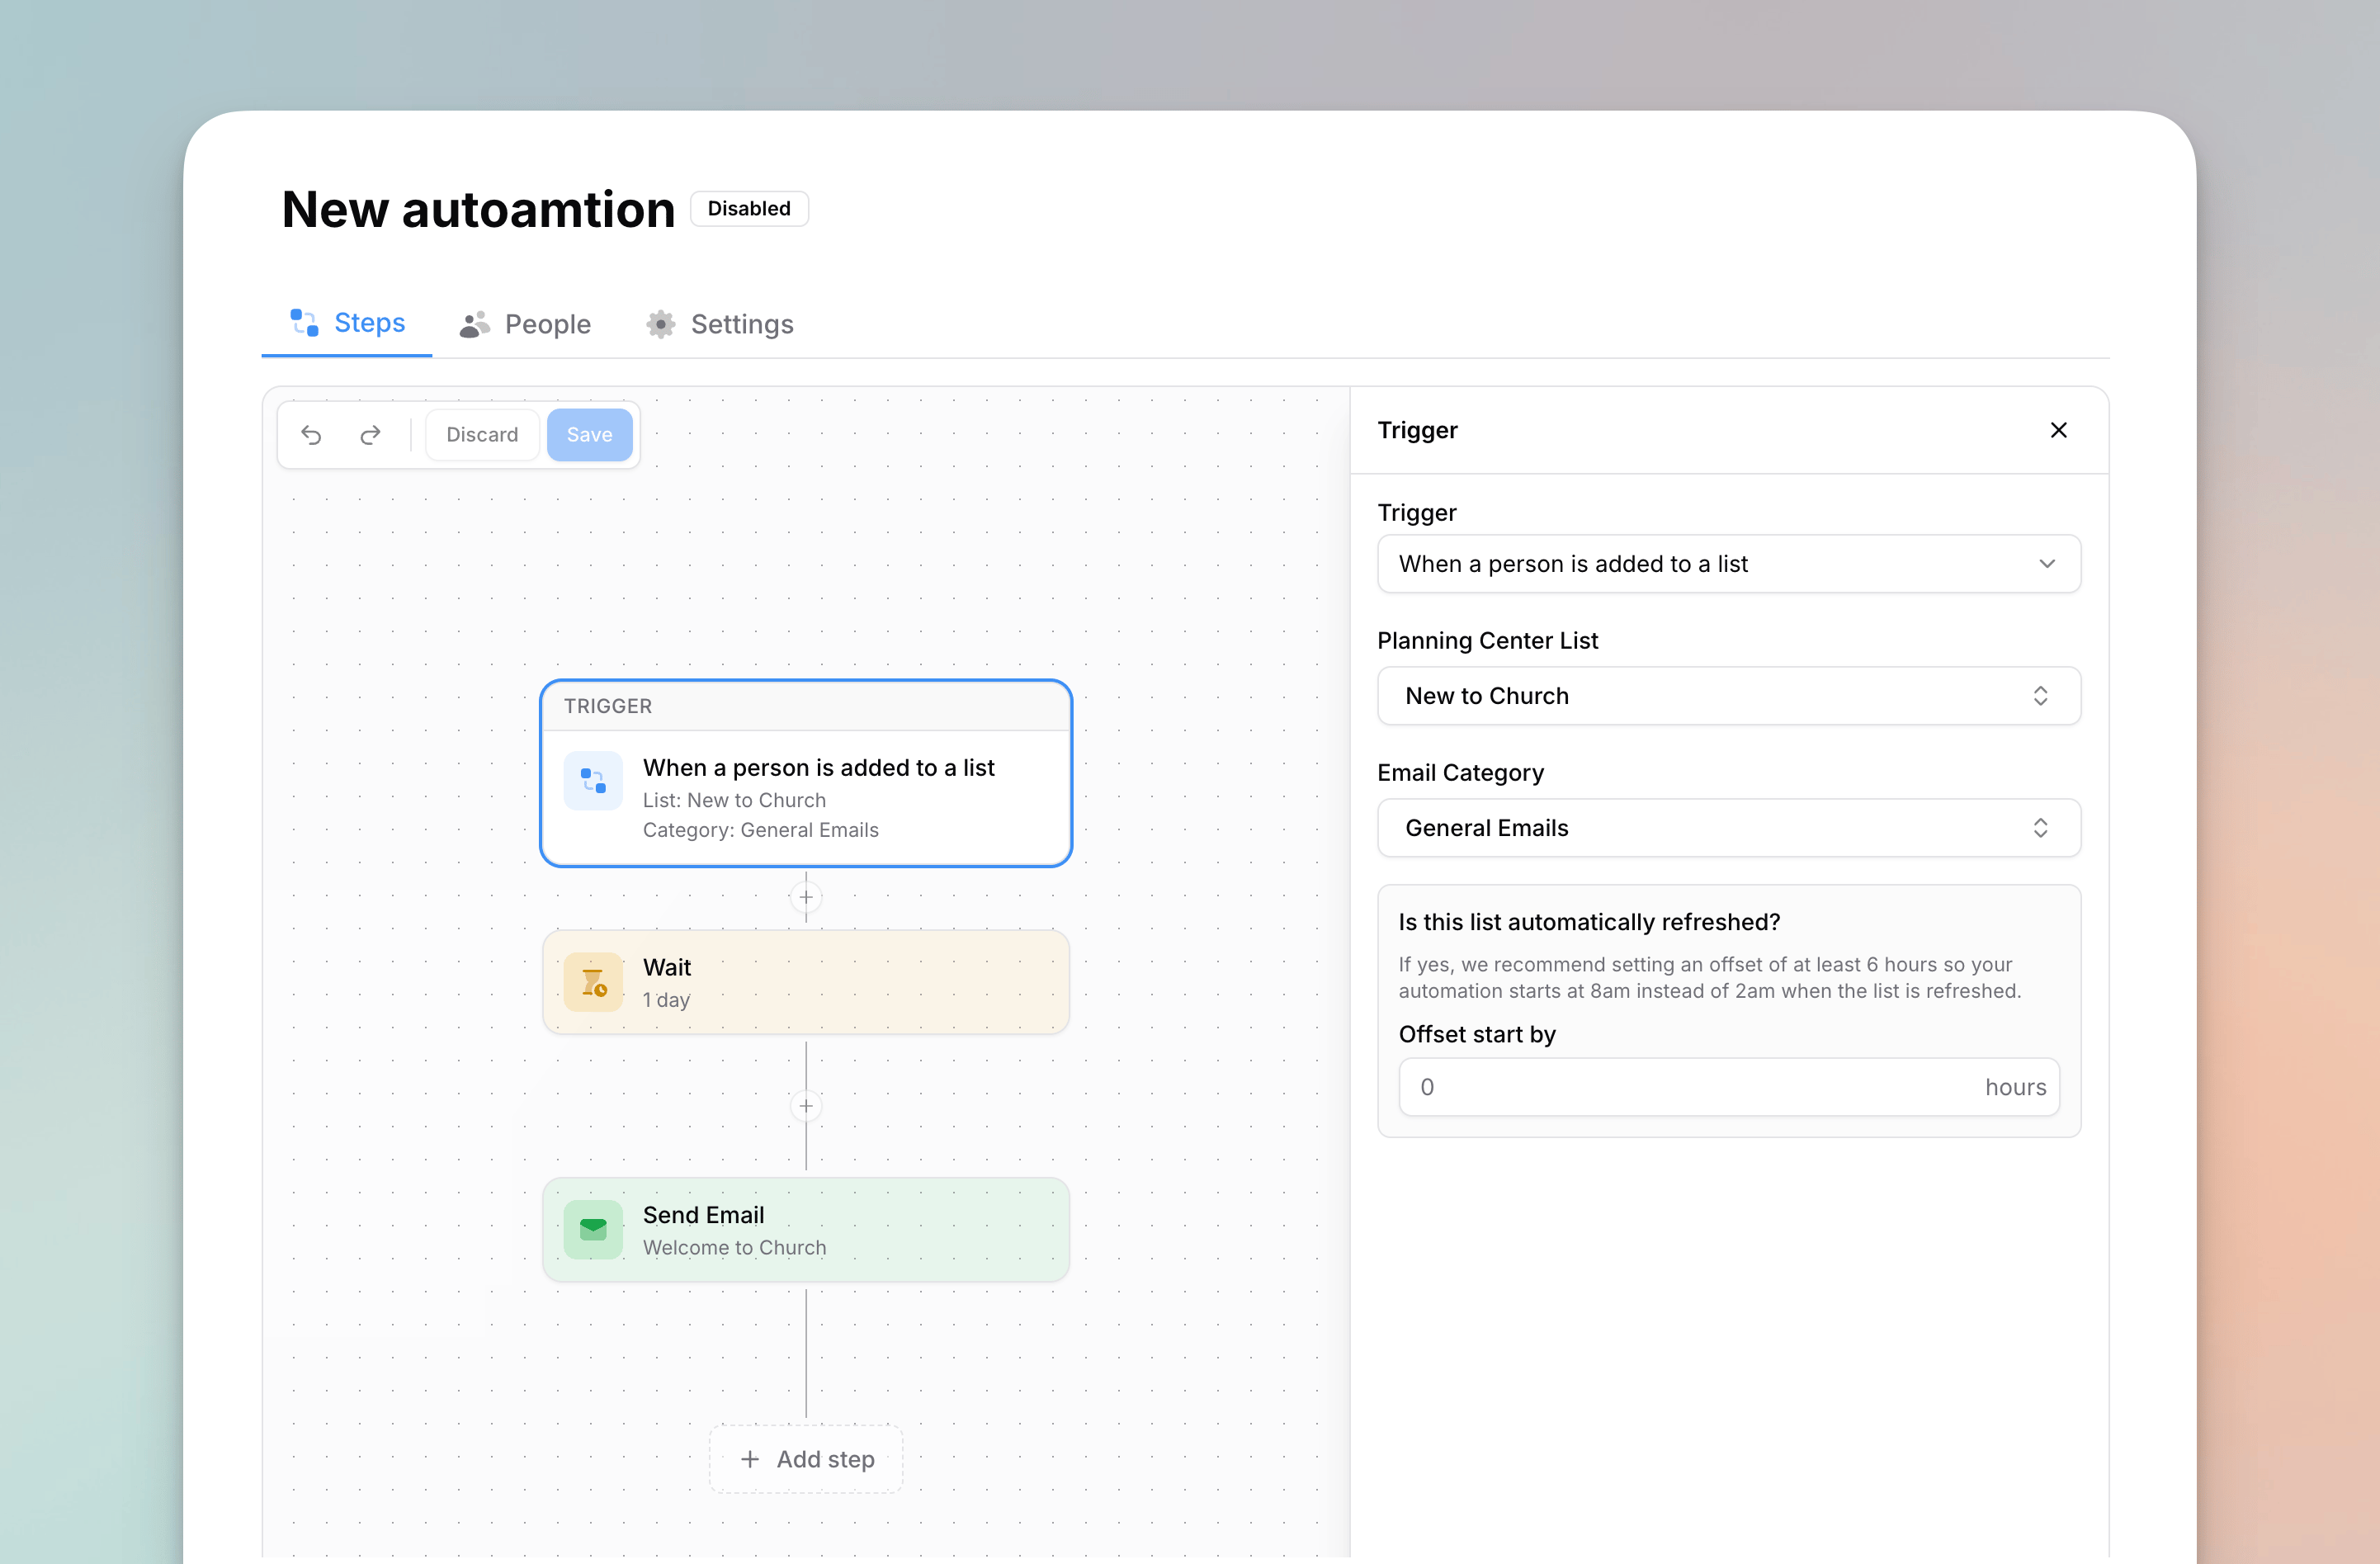
Working with Steps
- Add a step — drag it from the Steps palette in the sidebar and drop it on the canvas where it should run. Every spot that can accept the step lights up while you drag. You can also click Add step at the bottom of a path, or the + button on the line between two steps. You can add up to 100 steps.
- Edit a step — click a step and its settings slide over the sidebar. Click Back to return to the palette.
- Reorder a step — open the step and use the up/down arrows at the top of its settings. Steps move within their own path.
- Duplicate a step — click the duplicate button at the top of the step’s settings; the copy is inserted right after the original on the same path.
- Remove a step — open the step and click the trash icon at the top of its settings.
Step Types
Step Rules
A few rules keep automations valid:- You cannot end an automation (or a path) with a wait — though a path may end with one when it rejoins into more steps afterwards.
- You cannot place two waits back-to-back.
- A duration wait can be at most 31 days (until a day of the week waits are at most a week by definition).
- You cannot place two Wait Until on List steps back-to-back (a regular wait next to a Wait Until on List is fine).
- End Automation steps are always the last step of their path — nothing can come after them.
- Weekly and monthly (scheduled) triggers are limited to a single email step and a single Church Center notification step — no wait, Wait Until on List, If / Else, or End Automation steps.
An automation must have at least one email step or one Church Center notification step to be enabled.